data_recovery
This is an old revision of the document!
Table of Contents
Disk Information
Handy commands:
- lsblk – Lists all attached drives, including partitions
Ex:lsblk
- udevadm – Gives detailed information about a drive
Ex:udevadm info --query=all --name=/dev/sd<X> | grep ID_SERIAL_SHORT
Disk Testing
Handy Commands:
- Checking a drive's SMART attributes:
- GUI:
- Install gnome-disk-utility (If not already installed)
apt-get install gnome-disk-utility
- Run:
gnome-disks
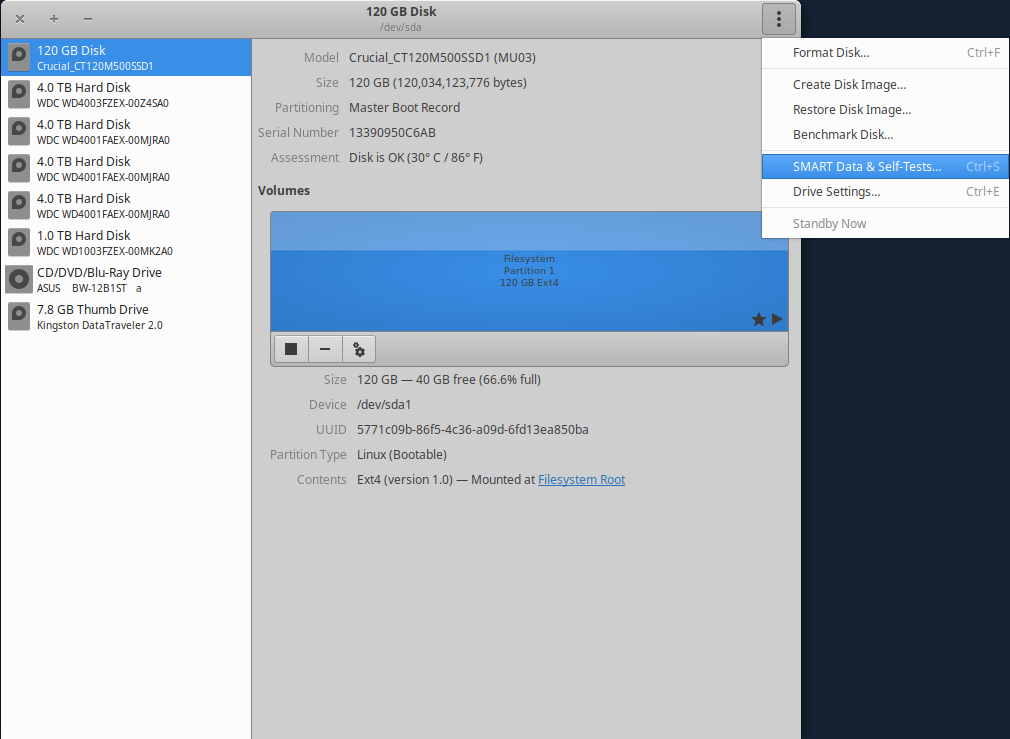
- Select your drive and then select the menu button in the top-right corner:
- Command Line:
- Install smartmontools
apt-get install smartmontools
- Overall health report:
smartctl -H /dev/sd<X>
- Detailed SMART information:
smartctl -i /dev/sd<X>
- Running SMART tests (non-destructive to data)
- GUI:
gnome-disks
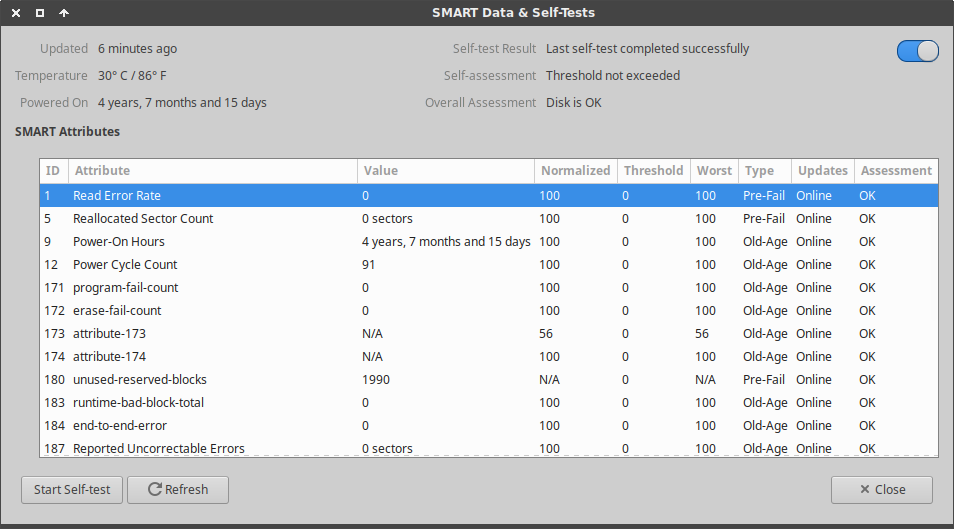
Open “SMART Data & Self-Tests”, click “Start Self-Test”, and select a test to run. - Command Line:
smartctl --test=short /dev/sd<X>
smartctl --test=long /dev/sd<X>
- Thoroughly Testing Drive Media (CAUTION: DESTRUCTIVE TO DATA)
badblocks -vws /dev/sd<X>


Data Recovery
If the hardware is suspect, then the first thing to do is get a byte-for-byte copy of the drive's contents into a disk image file. The less time spent using possibly faulty hardware the better.
ddrescue -A -f /dev/sd<X> broken.img
This copy will remain unchanged while we work. Make a copy of this file, and only alter the copy. This way, if anything goes awry then we can go back to square one without having to rely on possibly faulty hardware again.
cp broken.img work.img
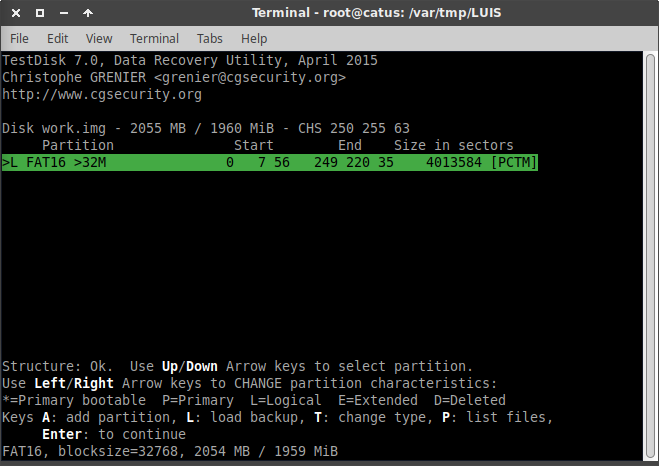
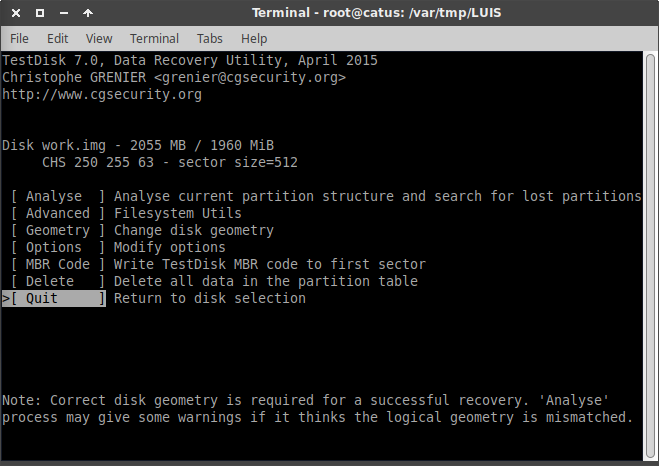
Use testdisk to search for and repair disk partitions.
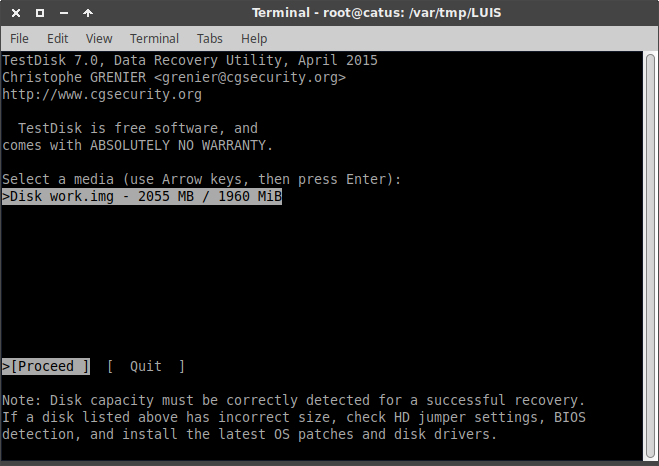
testdisk work.img
Using testdisk involves using the arrow, escape, and enter keys.
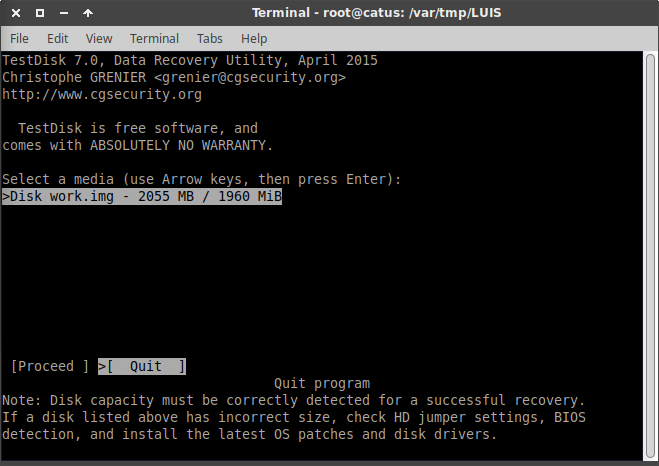
- Confirm that you want to use the disk image work.img, click “Proceed”
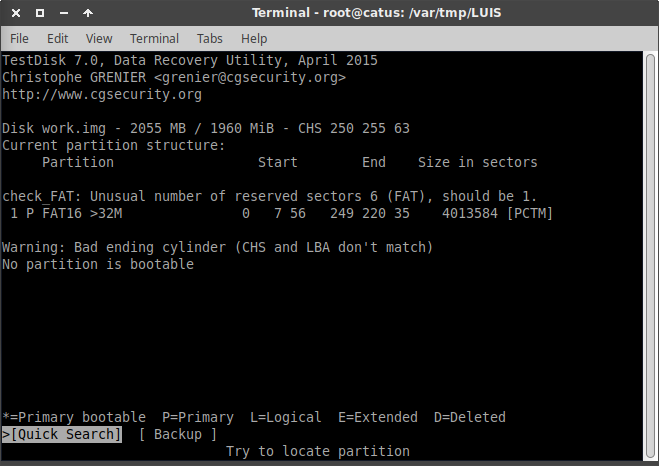
- Select the disk image partition table type. Ex: Intel

- Click: Analyse

- Click: Quick Search
- Click: Enter to continue
- Click: Deeper Search
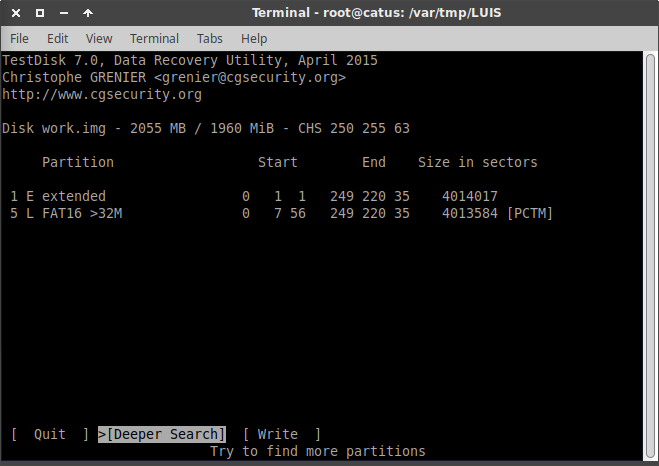
- Click: Enter to continue

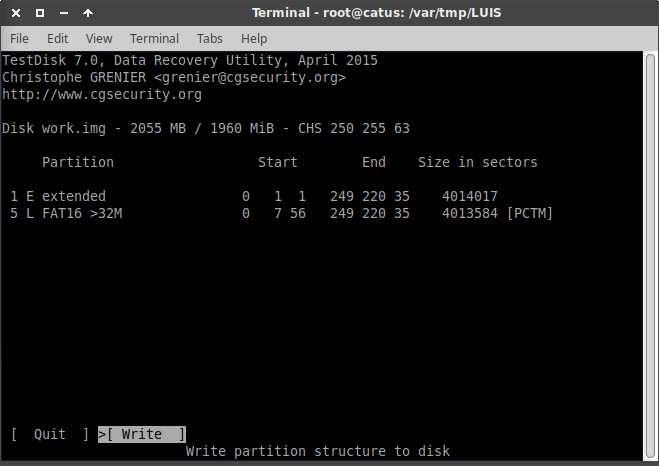
- Click: Write
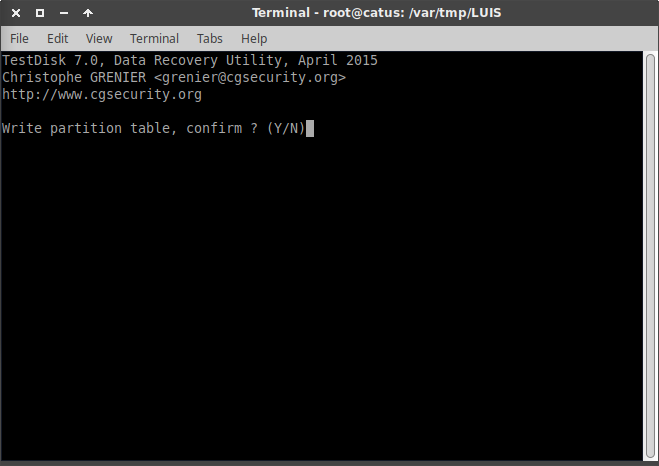
- Click: Y
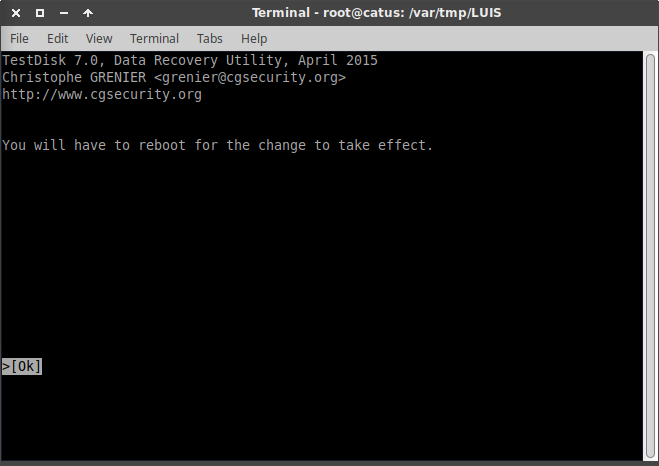
- Click: OK (You do not need to reboot)
- Click: Quit
- Click: Quit


data_recovery.1534954044.txt.gz · Last modified: 2018/08/22 16:07 by peek
Except where otherwise noted, content on this wiki is licensed under the following license: CC Attribution-Share Alike 4.0 International
